Before I finished my Bead Dreams piece, I knew that a normal neck form was not going to flatter the work. I needed wider shoulders and a broader chest, and after an exhaustive hunt, I knew what I wanted was just not out there.
I have never really been very satisfied with the forms I purchase, and one of them was so crooked in the neck area that I had never been able to use it. I thought I could perhaps take it apart to see how it had been made, and make my own custom-shaped one. So, I ripped off the cover, and took a look.


I have never really been very satisfied with the forms I purchase, and one of them was so crooked in the neck area that I had never been able to use it. I thought I could perhaps take it apart to see how it had been made, and make my own custom-shaped one. So, I ripped off the cover, and took a look.
Were you expecting something different? I was. :) It had 1/2 inch foam padding, which I removed, and then sized up the components.
It had a base, a support with a curve, a piece of what looked like masonite to me, stapled to the curve, and a funky little neck thingy, hot glued in place. This one was 1/2 inch off center, and that probably explains why my work always looked lop-sided on this particular form.
So before I was even finished with my piece, I asked my husband Carl, (aka The Best Man Ever) if he could make me a base, support piece, and differently shaped face for a custom form. He built a new wood shop addition onto the garage last fall, and seems to enjoy the place. He has been busy making new furniture and storage for it and installing machinery.
He said he would help me, so I designed a shape I thought would suit my work.
Here is how it differed from the original form. I wanted a wider shoulder and broader chest.
I made a pattern of the curved support for Carl, and we discussed materials. He suggested aspen, for the curved support and base, which he would finish for me, so I would not have to cover it.
I thought the curved face could be masonite, but he said it would be better to use special curve-friendly plywood and create exactly the curve I wanted by laminating layers together over a form, which he made, and used to create the face.
I didn't take a picture of the laminating process. :( But this was in his shop when I sneaked in there... something else being laminated into a curve, like he described the process for the face of my form.
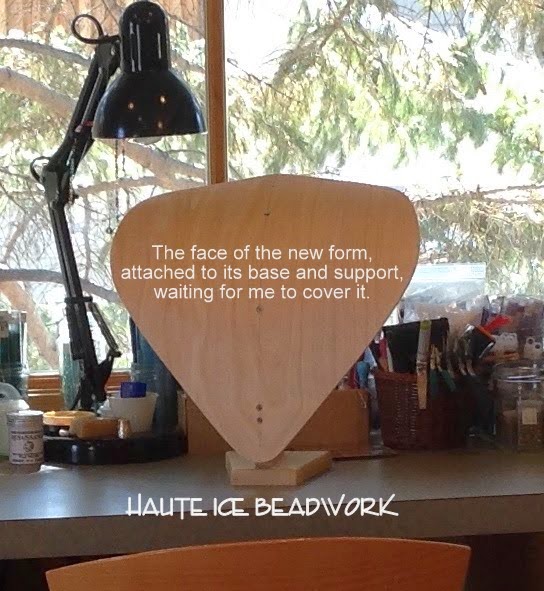
Here is a pic of the finished curved face in my workspace, attached to the base and support Carl made, before it got its little neck thingy. I thought it looked like a shield.
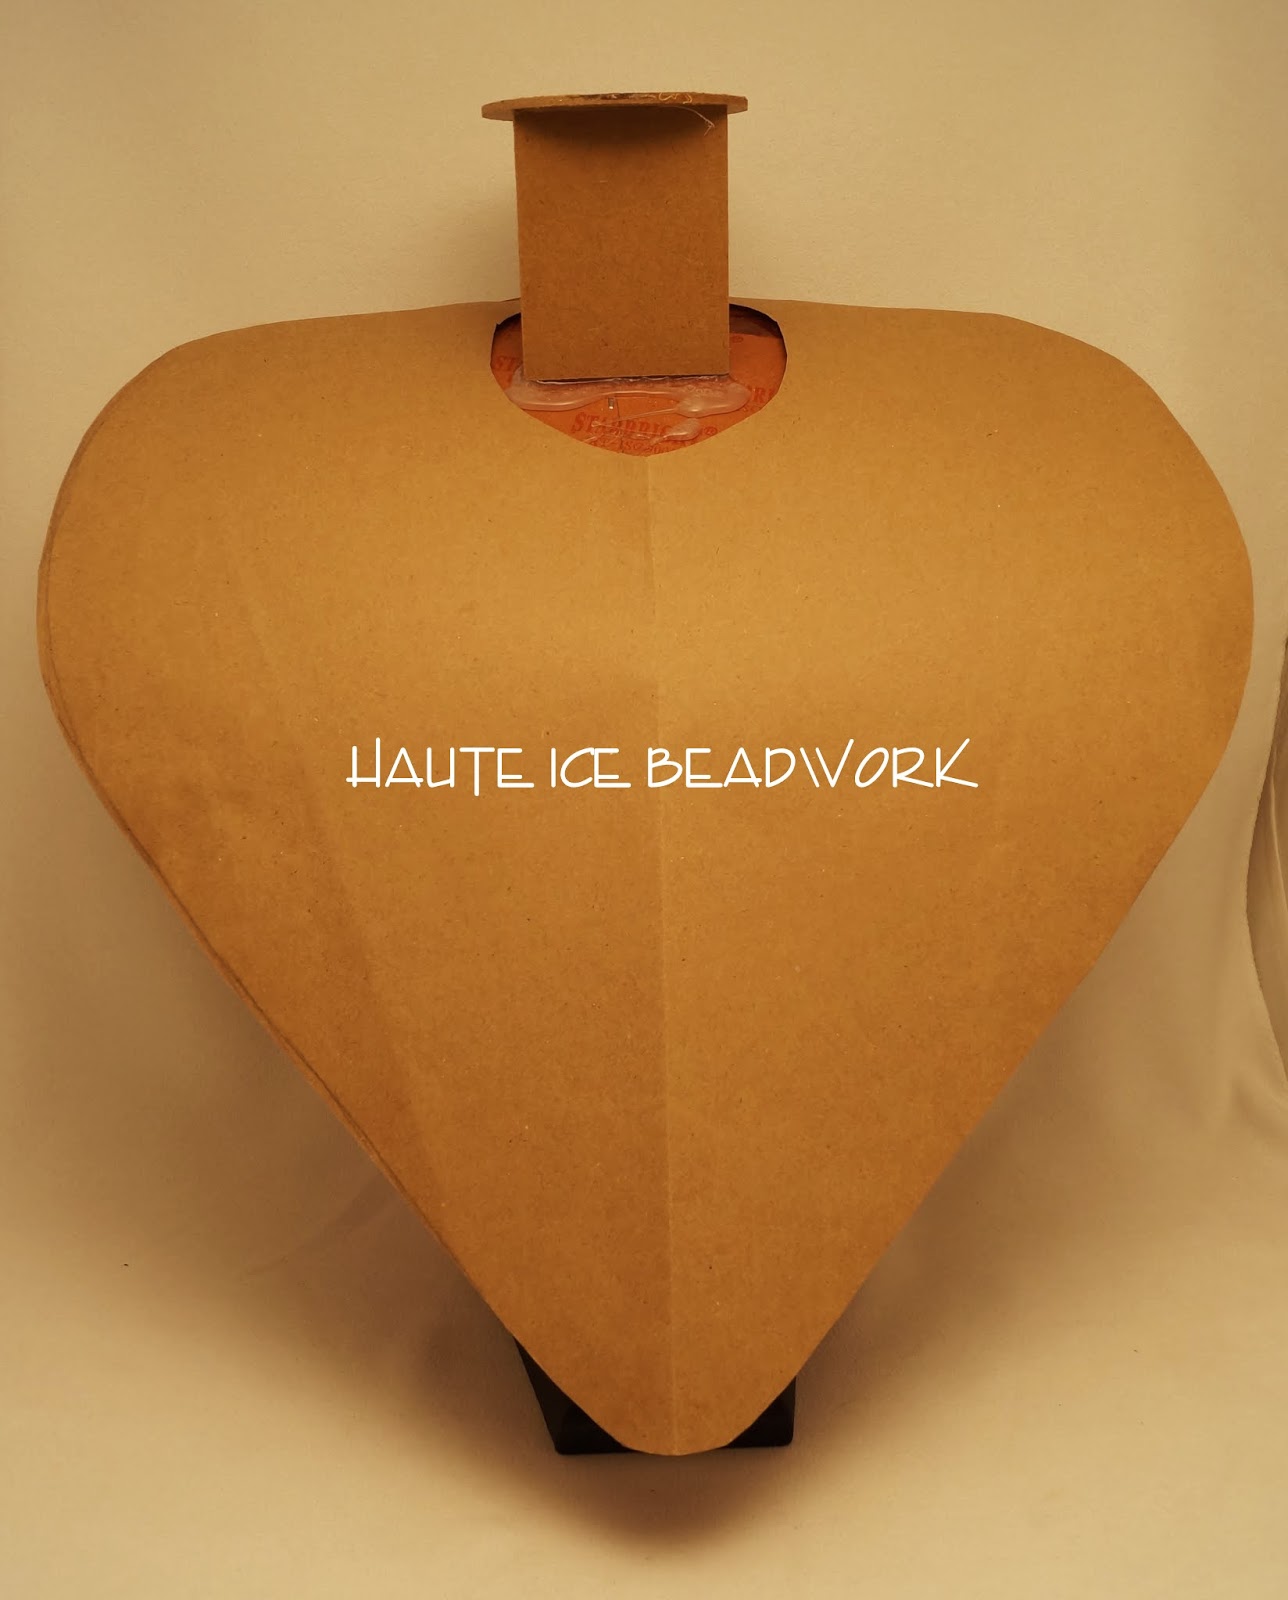
Next, came the cover. Here's the one I removed from the old form.
I shopped for materials and found three possibilities. Two were light weight vinyls, and one, some sort of actual leather, bonded to a stretch interfacing, similar to what the original cover material looked like.
I also found a place in NYC, that made "custom forms" and sold their leatherette material by the yard. But I decided to use the white vinyl for a first try and made a pattern. Maybe because of the broader shoulders, or the heavier vinyl, I needed to create a dart to help make the neck shape.
Here's the vinyl cover, cut out and assembled.
I still could not imagine how I was going to get the vinyl to wrap flat around the back of the curved edges of the form. So I paid a visit to the local Tandy Leather and got a great lesson on the use of leather adhesives from an adorable leather geek. He suggested water based contact cement, and assured me it would be sufficiently strong for the task at hand. He also said I would get one chance to get it positioned correctly, because once the two tacky surfaces touched, the bond was final. YIKES! He suggested I pin the cover in place first, apply the adhesive, and then wrap. I was REALLY NERVOUS about this. But I took his advice. I glued on the 1/2" foam (from the fabric store), and pulled the vinyl into shape.
I was really glad to have the thickness of the bonded plywood to pin into at this point. Crunch time came, and I painted the vinyl and the back of the plywood with adhesive, and let it get tacky.
Here are the tools I used, recommended by the adorable Tandy Leather geek. I wrapped one of the spreaders I purchased (which was great for spreading E-6000, btw) with a 1" strip of foam, and that was the right size to apply the strip of adhesive that I needed, and the foam held the watery glue nicely, with very little dripping or mess.
I let it dry overnight, and actually got up around 3am to see if it was still ok! The next step was to prep that back for the paper cover.
Carl let me steal some of his gorgeous drawing paper for the back.
I told myself from the beginning of this adventure, that what we made would have to look neat, clean, and professional or I simply could not use it. I am really happy with the results!
And I think mine actually looks better from the back, than the commercial one.
Finally, the button bit is glued on to the top, and I am ready to shoot pictures tomorrow. Carl cut me a masonite disc to cover, but the original was cardboard, and that would have allowed me to adhere the center as well as the edges. Next time!
And now, Carl thinks my piece needs its very own fancy pants wooden box. I am one very, VERY lucky girl. Whatever that shop addition cost, it was worth it!
Do you think I have to give him co-design credit?